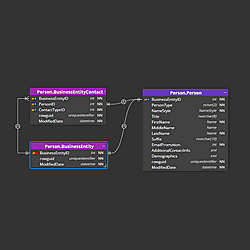
A brief guide to Luna Modeler for creating a logical data model.
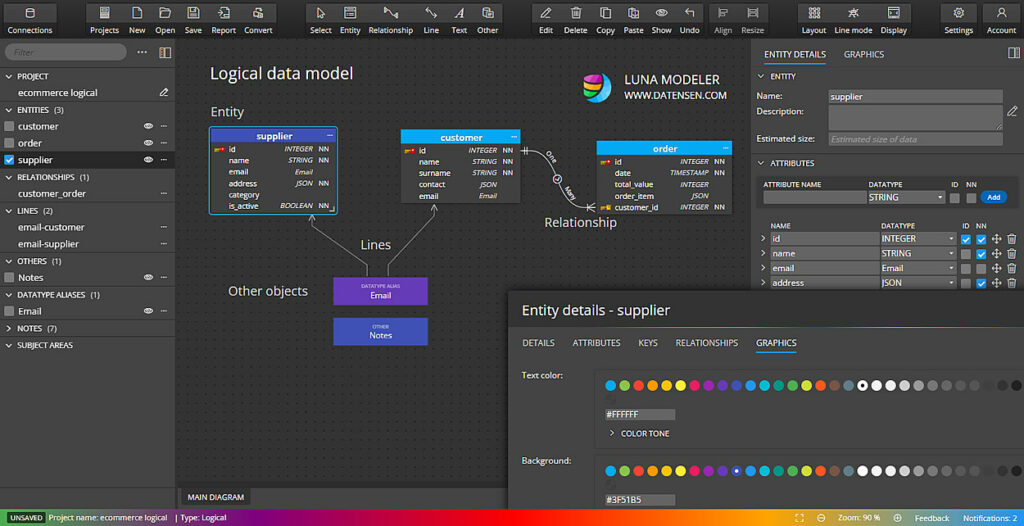
1. Creating a new Logical Data Model
To create a new project, click New on the main toolbar and select the Logical project type.
2. Database Entities
A database entity can be anything that exists in the real world such as a person, a book, a product, a company, an event, etc. and in logical data model they are represented by basic graphical representatives. Entities can be added to your project/diagram by clicking the appropriate icon on the main toolbar.

Then click the diagram area. A new graphical object will appear on the diagram.
You can edit properties in the Right Side panel:
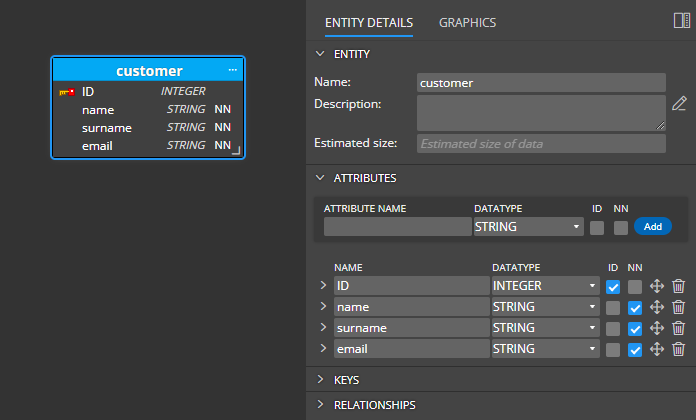
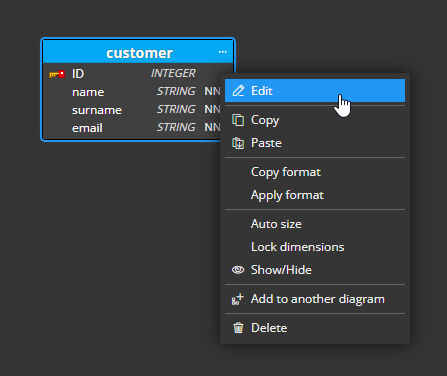
Alternatively, you can double click the graphics or right-click the item and choose Edit to open a larger modal form.
Entity properties
Basic entity settings can be specified in the section Details.
3. Attributes
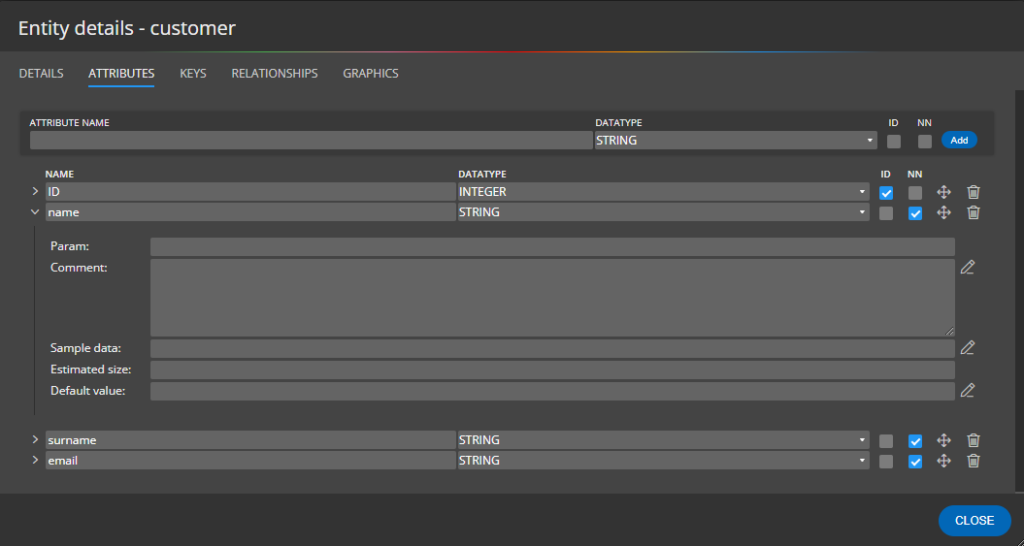
In section Attributes, you can add new entity attributes. Note: In physical data model, usually defined for a certain target database platform, e.g. SQL Server or PostgreSQL, the attributes represent table columns. Specify new attribute name, datatype and click Add. Note: the datatype is optional in Logical data model and can be specified later.
- ID indicates an identifier (a primary key).
- NN represents a required attribute (in the physical data model a Not Null column).
Detailed attributes specifics can be defined in a collapsible/expandable area.
4. Datatype aliases and Other objects
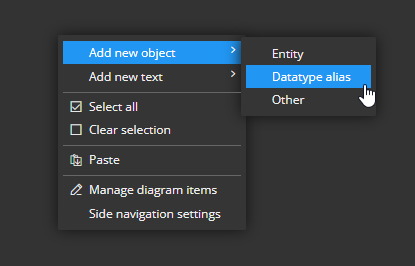
All other supported objects can be added to the diagram either by clicking the Other icon on the main toolbar, selecting the object type and then clicking the diagram area or, by right-clicking the diagram area and selecting the desired object type.
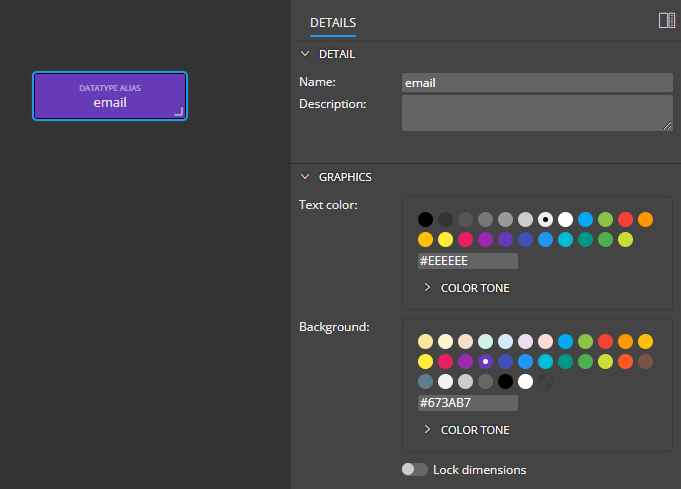
After adding the object to the diagram you can double click it and edit properties or use the right side panel for making modifications.
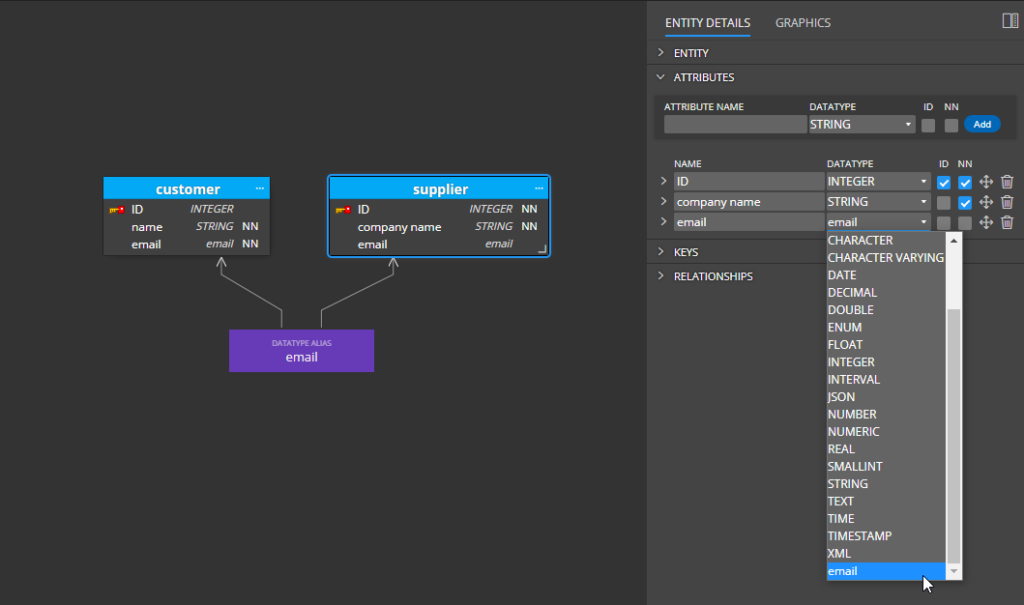
Example: the created email datatype alias can be selected from the data type drop-down list. This way you can easily reuse the same datatype alias in different attributes in your logical data model.
5. Relationships
Relationships can be created between parent and child entities (for other visual references you can use Lines and connect two graphical objects).
To add a new relationship to the diagram, click the Relationship icon, then click the parent entity and then the child entity. If the identifier (primary key) is defined in the parent entity, a new attribute will be added to the child entity and marked as a foreign key.
Example: relationship drawn from entity customer to entity cart. Foreign key column customer_id was added to the child entity automatically.

Read more about one-to-many relationships and many-to-many relationships.
6. Other features and visual elements
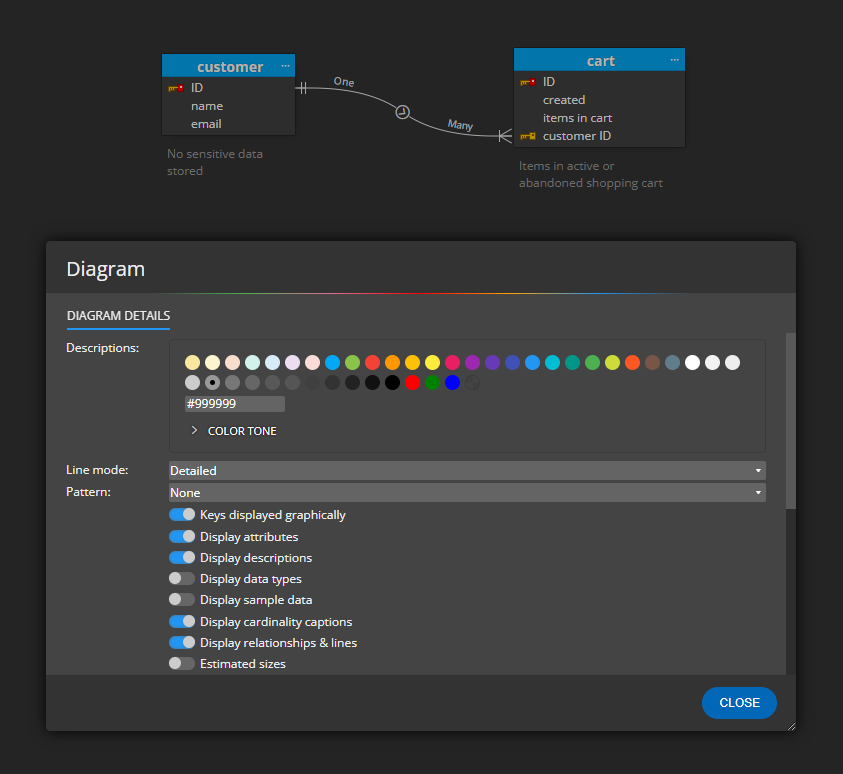
Notes, lines and other information that can be displayed in a diagram will help you keep the structure well documented. You can also display descriptions below entities in the logical data model.
7. Conversion to physical data model
You can easily convert your logical data model to selected target platform and create a physical data model quickly.
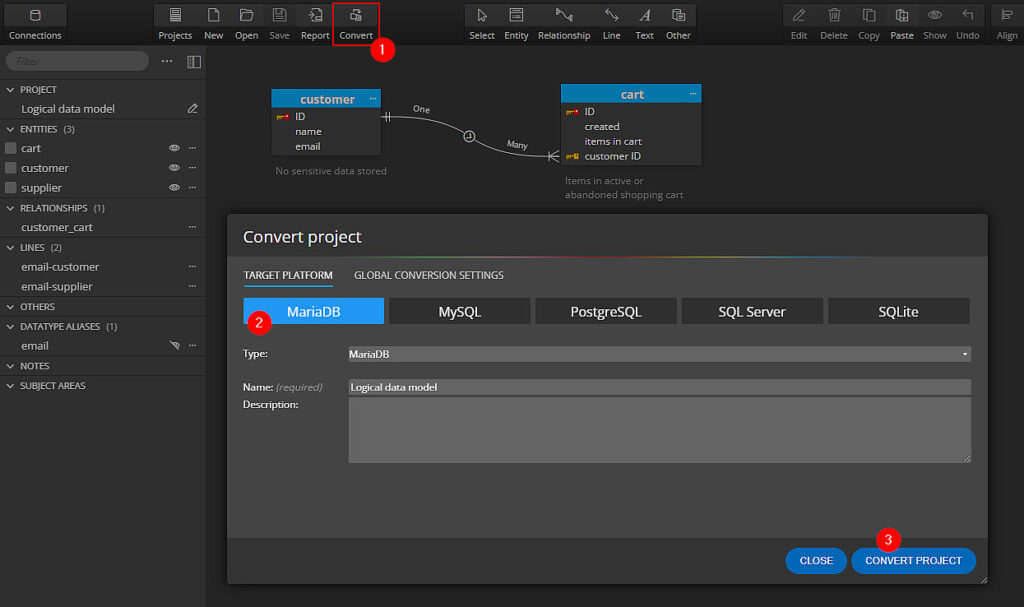
To run the conversion, click the Convert button on the main toolbar in Luna Modeler. A new form opens, select the target platform, update the name and click Convert project.
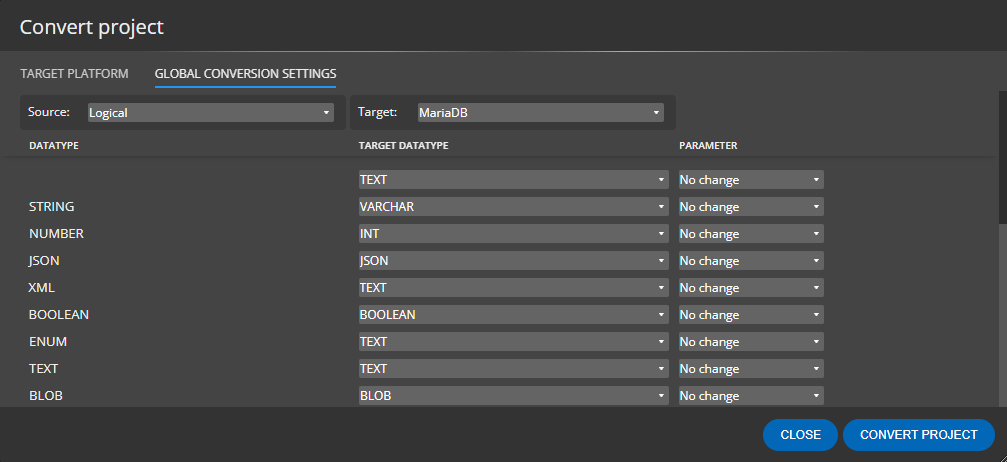
Datatypes will be converted according to predefined or customized settings. The settings can be modified on the second tab Global Conversion Settings on the Convert project modal form.
8. Conversion using the Copy and Paste method
In Luna Modeler you can also convert a part of a project from one project type to another. This advanced functionality allows you to load existing PostgreSQL database structure, copy part of the structure and paste it into e.g. SQL Server project. Of course, you can also paste part of a project to your logical data model and vice versa.
The main benefit is the possibility to copy a part of a logical data model and paste it into PostgreSQL project, MySQL project, SQL Server project etc.
You can also read more about the benefits of data modeling for multiple database systems
Enjoy!
#
